Are you scratching your head over Yahoo CFL reports? Do you spend a lot of time and sometimes get lost in following up on those who complain about your emails? You're not the only one. Many marketers and business owners face the same struggle.
When users mark your email as spam, Yahoo sends back a Complaint Feedback Loop (CFL) report. But the real challenge is knowing what to do with that report. On average, $1 invested in email marketing brings back about $36 in return. If you don’t act on it, your sender reputation drops, and your emails may never reach inboxes again.
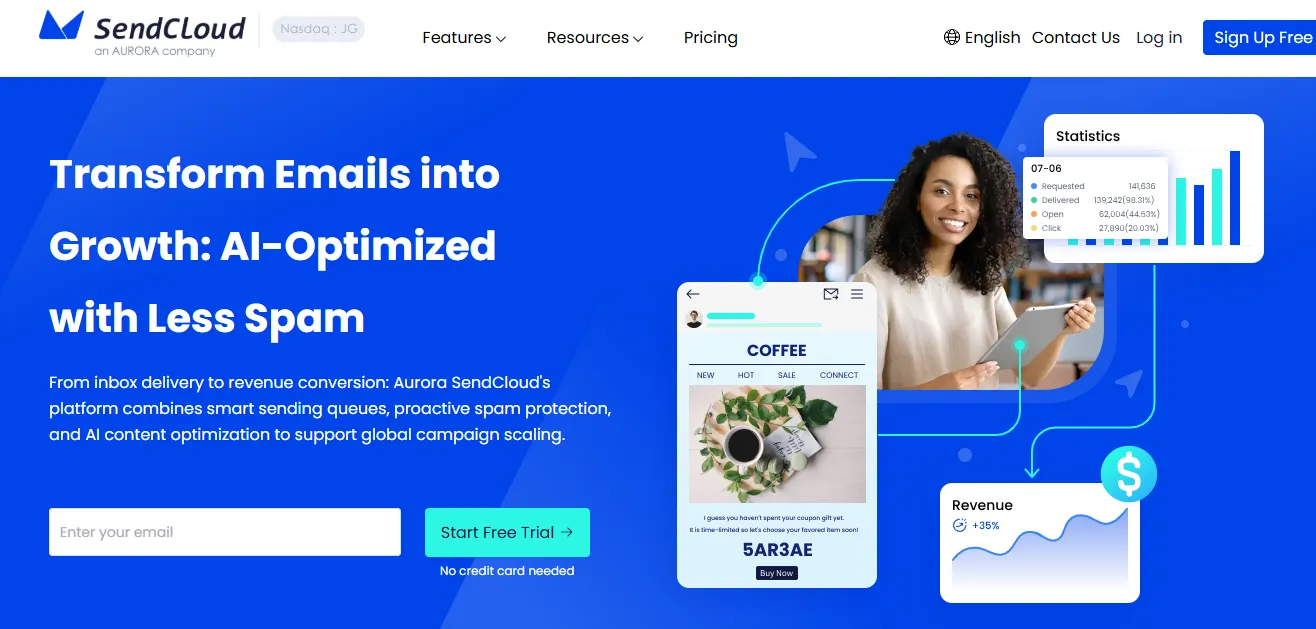
In this guide, I’ll walk you through exactly how to handle Yahoo CFL reports in five simple steps. You’ll see how to track and mark complainers the right way, avoid beginner mistakes, and use Aurora SendCloud to make the process easier and faster. By the end, you’ll know how to improve email deliverability and achieve better Yahoo email delivery results. Read on to learn more.
What Is a Yahoo CFL Report?
Let’s start with the basics. Yahoo CFL reports are part of Yahoo’s complaint feedback loop. Whenever a user clicks “Mark as Spam” on your message, Yahoo generates a report. This report contains the complainer’s email address, the time of the complaint, and other technical details.
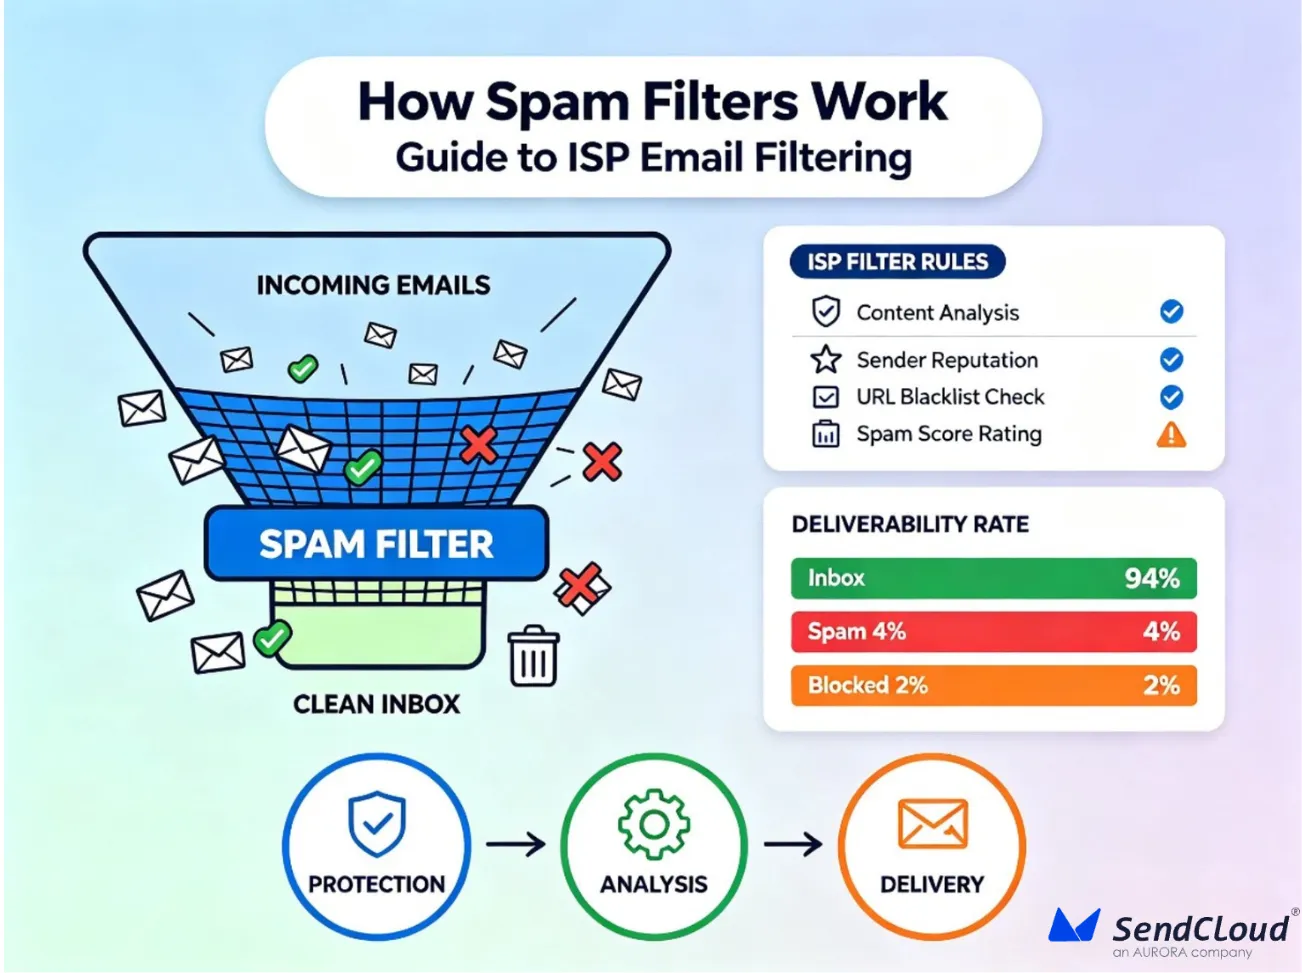
Why does this matter? Because Yahoo uses these signals to judge your trustworthiness as a sender. If you ignore them, you risk being blacklisted or pushed straight into the spam folder.
Here’s the good news: by responding to these reports the right way, you can show Yahoo that you’re a responsible sender. This helps maintain a strong sender reputation and improves your Yahoo email delivery rate.
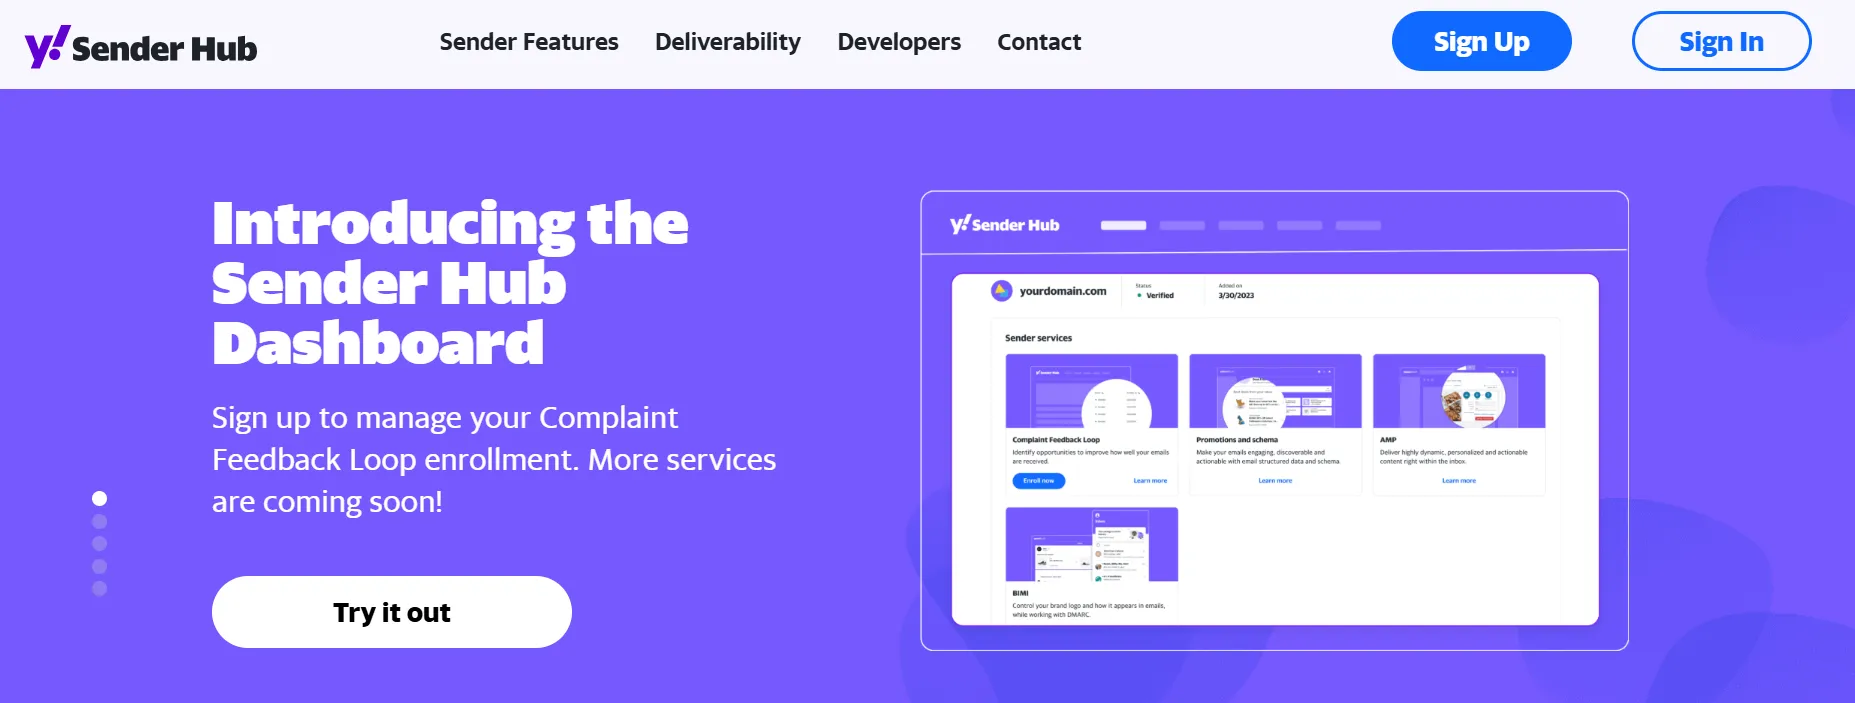
Want to hear it straight from Yahoo? Check out Yahoo’s official Sender Hub. You can also explore Spam Resource’s explanation of complaint loops for more background.
5 Steps to Manage Yahoo CFL Reports
Now let’s go through the five steps. This section is the heart of the article, and it’s where you’ll see why Aurora SendCloud is the smarter choice.
-
1
Step 1: Enable CFL Tracking
The first step to handling a Yahoo CFL report is making sure you can actually receive the data. Without tracking in place, you’ll never know who complained about your emails, and that’s like driving blind. Yahoo gives you two ways to enable CFL tracking: the manual way and the automated way. Let’s look at both.
- Option 1: The Manual Method
- Option 2: The Automated Method: Using Aurora SendCloud
You can go straight through Yahoo to set this up. You’ll need to register directly with their CFL program, provide your sending domain and contact details, and wait for approval. Once approved, Yahoo will send complaint data to the address you specify. But here’s the catch: these reports arrive in raw form.
That means you’ll have to open each report, find the complainer’s address, and enter it into your system yourself. It works, but it can feel like sifting through puzzle pieces every single time.
If you’d rather skip the technical hassle, Aurora SendCloud makes the process smooth and beginner-friendly:
- Register and Navigate: First, sign up or log in to your Aurora SendCloud account.
- Add and Verify Your Domain: Go to Analytics → MP Monitor → Yahoo CFL. Enter your verified domain name to add the configuration.
- Configure DNS Manually: Yahoo will give you a DNS TXT record. Add this record to your domain settings so Yahoo can recognize your sender identity.
- Complete Verification: Once the TXT record is set, click the Verify button in Aurora SendCloud. The system automatically confirms your setup.
- Access Your Data Instantly: As soon as verification is complete, you’ll see all your Yahoo CFL data on the dashboard neatly organized and ready to use.
The difference between the two options is huge. With the manual method, you’re stuck parsing through raw reports every time. With Aurora SendCloud, you not only get instant access to complaint data but also a clean dashboard that saves hours of work. For busy marketing teams and e-commerce operators, automation is the smarter and more reliable choice.
-
2
Step 2: Parse and Understand the Report Data
Let’s be real. Reading raw reports is like reading a foreign language. If you’re doing it manually, you’ll have to extract fields like the complainer’s address line by line.
- Manual: You open each email report, find the complainer’s address, and copy it into your system.
- Aurora SendCloud: This is where the magic happens. Instead of digging through text, you just log into your dashboard. The system automatically parses the report for you. You’ll see a structured list of complainers, complete with addresses and complaint dates.
Wouldn’t you rather click and view instead of copying and pasting all day?
-
3
Step 3: Accurately Locate Users in Your System
Once you have the complainer’s email address, the next step is to find them in your own database.
Here’s how:
- Search for the user by their email address.
- Pull up their record in your CRM or admin panel.
- Confirm that it’s the same person who lodged the complaint.
This step is vital. If you mix up addresses or delete the wrong contact, you could lose a valuable customer. That’s why precision matters. Aurora SendCloud makes this step easier by presenting the data in a clean format. It cuts out the guesswork and reduces human error.
-
4
Step 4: Perform the “Add Tag” Operation the Right Way
This is where many marketers go wrong. Instead of tagging complainers, they delete them or worse, keep mailing them. Both moves hurt your brand.
Here’s what you should do manually:
- Tag the user in your system as a complainant.
- Unsubscribe them from every mailing list.
- Add their email to a master suppression list.
Why the suppression list? Because it blocks future sends to complainers. This protects your reputation and shows Yahoo you take complaints seriously. With Aurora SendCloud, this whole process is automated. Once a complainer is flagged, the system tags them, removes them from mailing lists, and updates the suppression list instantly. No manual work. No mistakes.
-
5
Step 5: Optimize Your Future Delivery Strategy
Here’s where you take things to the next level. Complaints are signals. If you pay attention, they’ll tell you what’s wrong with your campaigns.
Look for patterns:
- Are complaints coming from promotional emails?
- Do they spike at certain times of the week?
- Are they tied to a specific subscriber list?
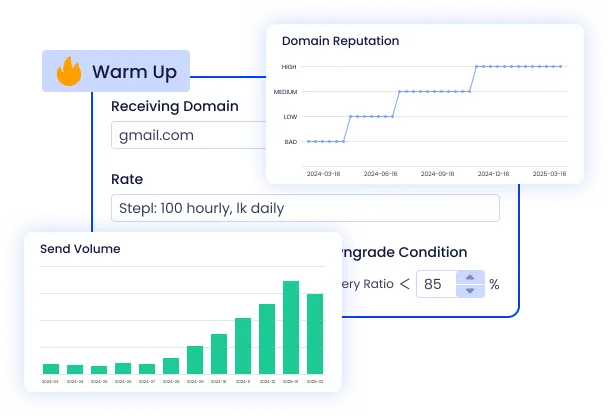
With this knowledge, you can refine your approach. Maybe you need to warm up your domain better, adjust your sending frequency, or improve your subject lines.
Aurora SendCloud helps here too. You can refine your approach and reduce complaints with such features as inbox optimization, real-time analytics, and AI-assisted warm-up technology. Automated emails generate 320% more income as compared to non-automated.
Common Beginner Mistakes to Avoid
When it comes to handling CFL reports, many newcomers make the same blunders. The rate of spam complaints should not exceed 0.1%; anything over 0.5% is a cause of concern. Let’s list a few so you don’t fall into the trap:
- Ignoring or deleting reports instead of acting on them.
- Unsubscribing complainers but not adding them to the suppression list.
- Mistaking complainers for active users and sending remarketing emails, which only annoys them more.
- Failing to analyze the root cause of complaints.
Such errors decrease your sender reputation and damage your email deliverability. To manage email complaints is not a matter of punishment. It is about securing your brand and gathering feedback.
Why Aurora SendCloud Is the Best Choice
At this point, you might be wondering: why not just stick with manual methods? Here’s why Aurora SendCloud makes life easier.
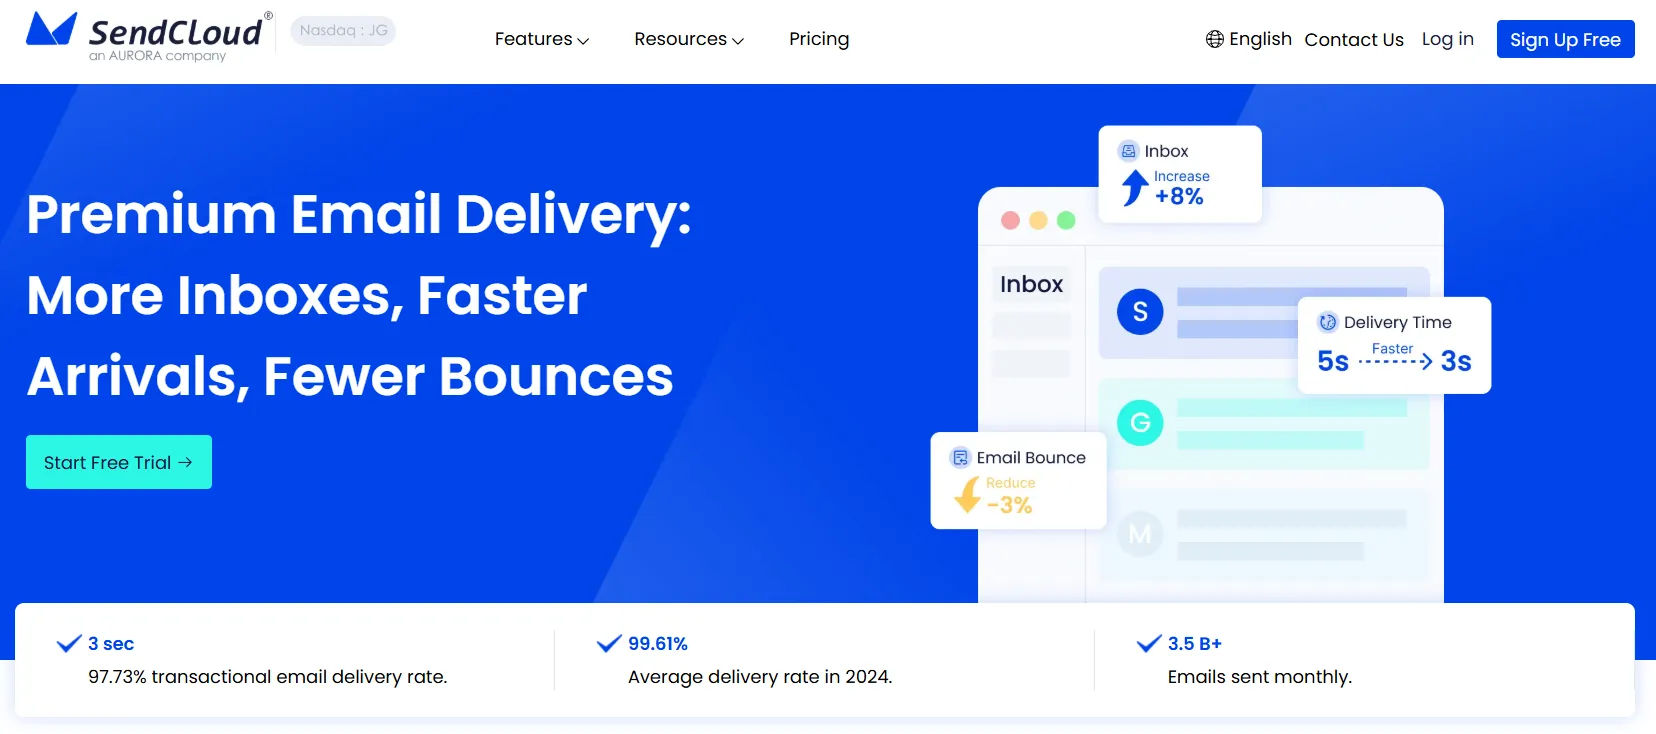
- Trustworthy performance: Sends 3.5 billion+ emails monthly with a 99.61% delivery rate.
- Deliverability guarantee: Continuous spam filter and reputation monitoring.
- Inbox optimization: Warm-up technology and expert strategies for better inbox placement.
- Customer acquisition and marketing tools: AI email generation, drag-and-drop templates, and advanced analytics.
- Proven global reach: Serves 200,000+ customers, delivering to 1.8 billion addresses worldwide.
In short, Aurora SendCloud takes the hassle out of managing Yahoo CFL reports and boosts your Yahoo email delivery at the same time.
Conclusion
Yahoo CFL reports may seem daunting but when they are broken into easy steps, they become a lot easier to handle. With CFL tracking, you are able to track report data, process and read it, locate complainers in your system or tag them properly and add them to a suppression list. It ensures that you are ahead of any problem before it damages your sender reputation.
Not only will this minimize complaints, it will also enhance the overall email deliverability and increase your likelyhood of arriving in the inbox over the spam folder by taking the time to optimize your sending strategy. Stop waiting to have your emails lost in the junk mail inbox and manage your Yahoo complaint feedback loop now.
Aurora SendCloud allows you to automate these steps and save time and keep your campaigns performing effectively. Ready to make your Yahoo email delivery stronger than ever? Try Aurora SendCloud now and see the difference in your inbox rates.